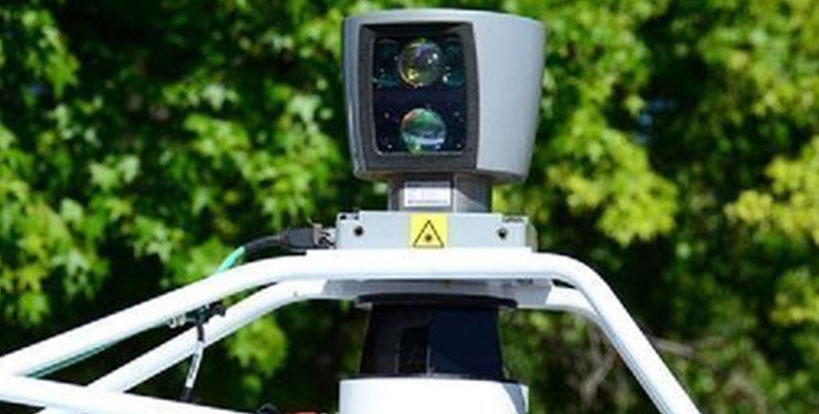


Mapper working principle and use
SLAMTEC Mapper operates on the unique SLAM optimization algorithm developed by Slamtec, combined with a high-performance laser radar. It can perform map data fusion over 10 times per second and generate maps for areas up to 100,000 square meters. The laser radar conducts distance measurements at a rate of 9,200 times per second, with a maximum range of 40 meters. Real-time data processing is carried out by the built-in processing system, delivering high-precision mapping and positioning information
SLAMTEC Mapper core features
1. Large scenes and high-quality mapping
2. Ready to use after power-on, no external dependencies required.
3. Tilt compensation, supports 2m/s high-speed movement
4. Can work both indoors and outdoors
5. Convenient data analysis and fully compatible with ROS
6. It is a mapping radar and a lidar.
7. Built-in WIFI, Ethernet interface, convenient communication
8. Developer tools and support
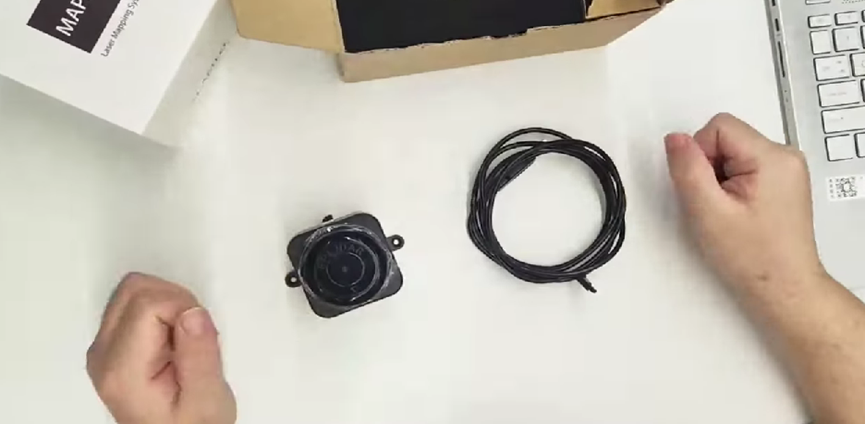
①Quick connection
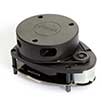
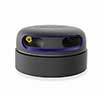
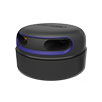
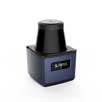
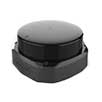
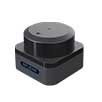
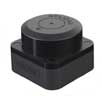
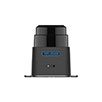
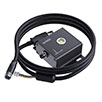
SLAMTEC MAPPER development kit consists of: MAPPER and matching power cord. As shown below.
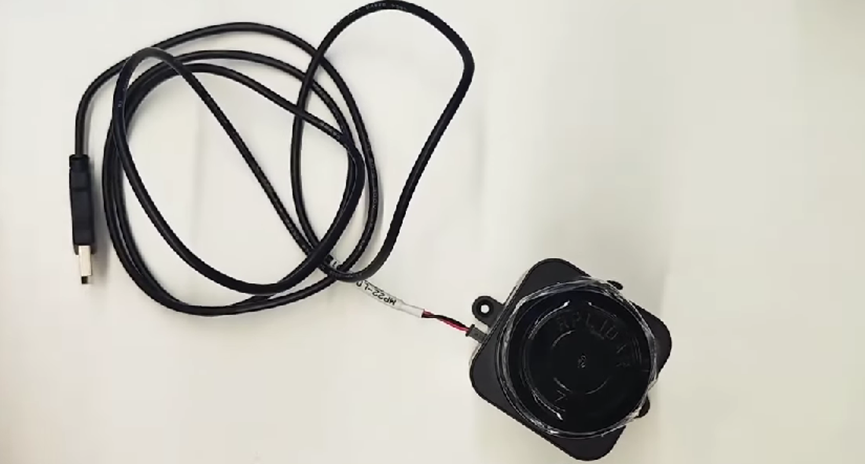
Please take out the SLAMTEC MAPPER from the set and place it on a flat surface, connect the power cord to the SLAMTEC MAPPER power interface (J1 interface), and use 5V power supply. As shown below
②Start and connect to the computer
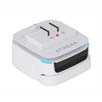
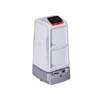
After confirming that the SLAMTEC MAPPER is placed horizontally, turn the switch (SW1) to ON to start the device. The indicator light (D1) will light up yellow-green. After about 20 seconds, the radar will start to rotate, and the device will start normally. When the device starts normally, turn on your wireless network adapter and you will see the hotspot SLAMWARE-XXXXXX “.
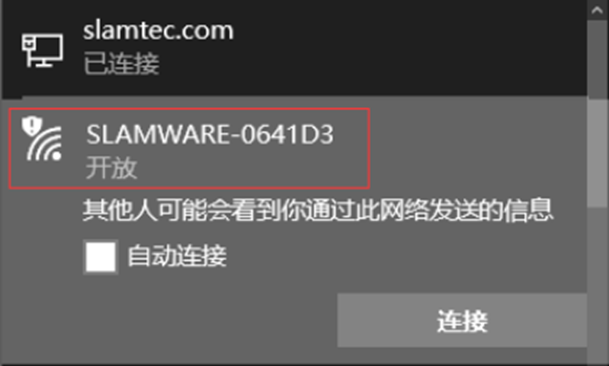
Please use a wireless network card to connect to “SLWAMWARE-XXXXXX” (you can also use a wired network to connect the SLAMTEC MAPPER to the PC. At this time, the PC network adapter needs to be set to DHCP mode)
③Download and use RoboStudio
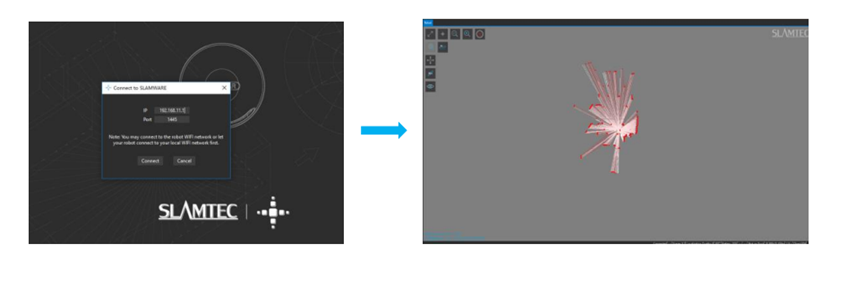
Please go to the SLAMTEC official website to download the latest RoboStudio: http://www.slamtec.com/cn/RoboStudio. After the device starts normally, use RoboStudio to connect to the system. The default IP is 192.168.11.1. After the connection is successful, a MAPPER scan will appear on the RoboStudio interface. Arrival map. For detailed video introduction, please visit this YouTube link,https://www.youtube.com/watch?v=-LG-9Dv4W1Q
④More reference content
For more RoboStudio-related content, please refer to the RoboStudio-related documents. To learn more about how to use the SLAMTEC MAPPER kit, please refer to the SLAMTEC MAPPER kit user manual; to learn about the electrical characteristics and specific specifications of the SLAMTEC MAPPER, please refer to the SLAMTEC MAPPER data sheet; The above documents can be downloaded from the official website of Slam Technology at http://www.slamtec.ai/. If you need more help, please contact support@slamtec.com