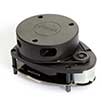


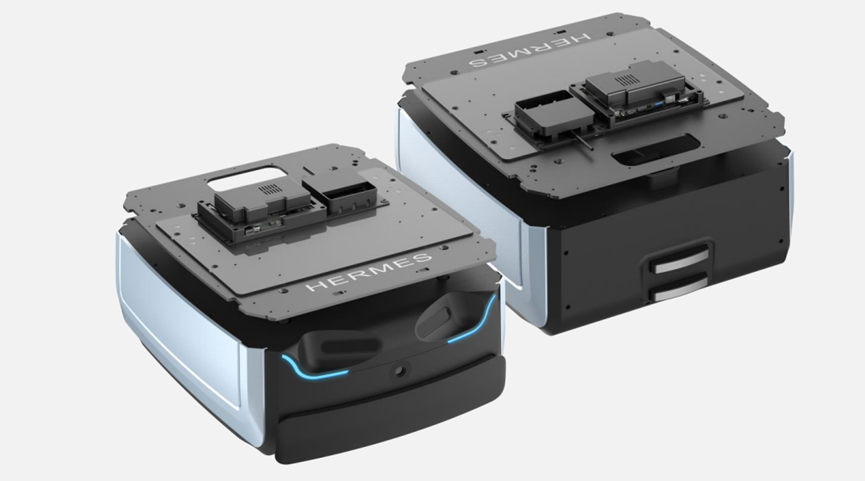
Hermes is a medium-sized, scalable, and cost-effective robotic platform developed by SLAMTEC to meet the needs of small and medium-sized robot application development. Applications include intelligent inspection robots, container transport robots, hotel delivery robots, restaurant food delivery robots, and more.
Unboxing Guide:
Upon receiving the Hermes robot, carefully inspect the packaging as shown in the diagram below. Ensure that the checkboxes on the right side of the outer box, next to “Hermes,” are ticked to confirm the integrity of the packaging. Use a packing tool to cut the straps and remove all packaging straps and paper corners.
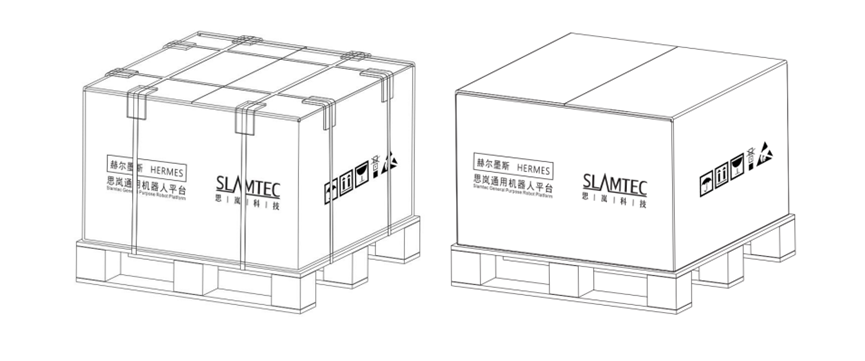
Image: Illustration of Unboxing Hermes
After receiving Hermes, it is essential to check if the battery is installed. Do not attempt to charge Hermes if the battery is not installed. Install the battery before operating the robot to ensure its proper functioning. If assistance is needed, please contact our customer service team at support@slamtec.com.
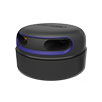
Placement of Charging Dock:
Position the charging dock against a wall with the following conditions: a. The charging dock should be flush against the wall, with no obstacles in the middle, avoiding walls with baseboards. b. The wall material should not be highly transparent, such as mirrors or glass. c. The wall width should be at least three times the width of the charging dock. d. The wall should be a straight surface without curvature.
Power On & Power Off: Power On:
If the robot is not in the charging dock, long-press the power button until the power indicator lights up, indicating the start of the boot process.
If the robot is in the charging dock, short-press the power button until the power indicator lights up.
The front light strip illuminates, and the wheels are in the brake state, indicating the completion of the boot process.
Power Off:
Long-press the power button until the power indicator goes off, indicating the start of the shutdown process.
The front light strip goes off, and the robot can be moved freely, indicating the completion of the shutdown process.
Charging:
Align the charging contacts of the robot with the charging electrodes of the charging dock, wait for 10 seconds, and the front light strip of the robot lights up, indicating the start of charging. The charging dock’s breathing light blinks, indicating the charging process.
Mapping and Save/Upload:
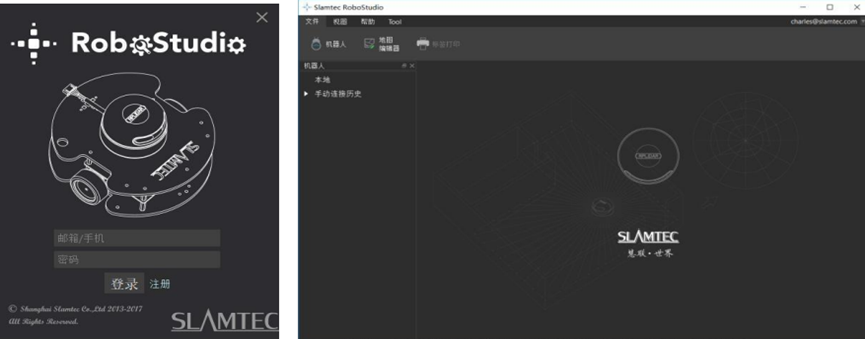
Download and install the Robo Studio, a graphical control management tool for robots, from the official SLAMTEC website http://www.slamtec.com/cn/RoboStudio. Register an account and log in. In the menu-toolbar area, click ‘File-Robot,’ and a docking window named ‘Robot’ will appear on the left side of the workspace, as shown in the following image. Users can perform robot connection/disconnection operations through this window.
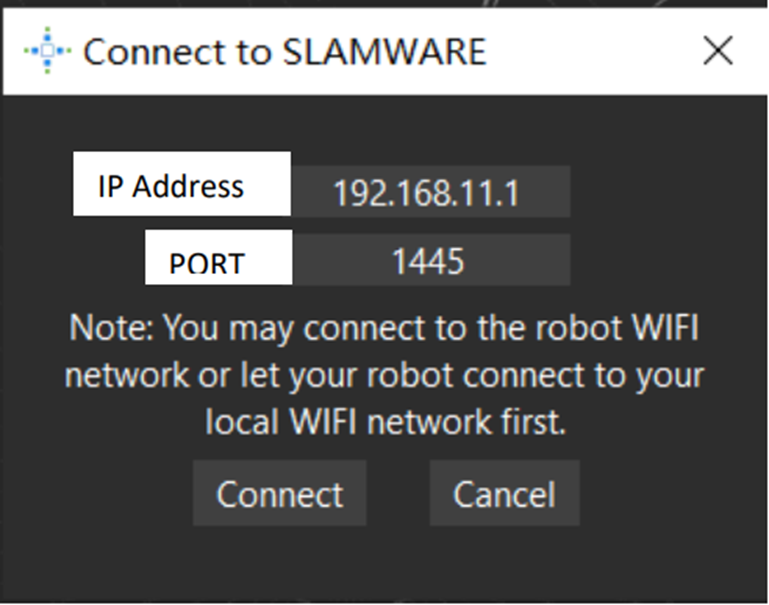
Right-click in the blank space of the robot list, and from the menu that appears, select ‘Manually Connect to Robot.’ This action will bring up the Connect to Robot dialog (as shown below). Enter the IP address and port number of the Hermes robot mentioned above, and click the ‘Connect’ button to establish the connection (this connection method is applicable for machines that have had their IP addresses assigned through the Web portal management backend). In cases where the computer is connected to the SSID of the Hermes robot through a network adapter (SSID can be found on the robot label), the default input for the IP address is 192.168.11.1 (ensure that your wireless network adapter IP address is set to use DHCP for automatic configuration).
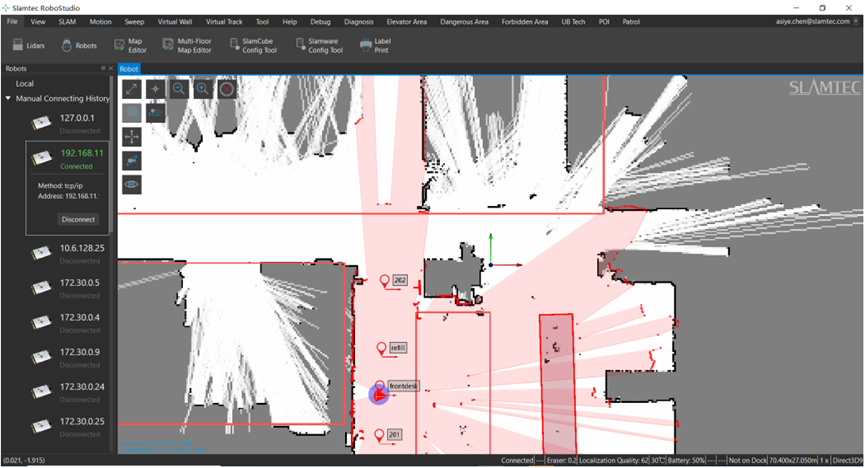
After a successful connection, the workspace displays robot, map information, and status information. In the robot window, you will find that the name of the connected device turns green and the status is “Connected”, as shown in the figure below.
Chassis Encountering Unhandled Faults:
(1) Press the brake button. (2) Push the chassis back to the charging dock. (3) The chassis can be forcefully powered on/off in any state after power-up. Use only in emergency situations.
Refer to our user manual for specific usage instructions.